


Don't Trim Your Brisket Until You Watch This
Before your brisket ever sees smoke, the work has already begun. Barrett Black walks through how to pick the right cut at the store and trim it the way we've done it in Lockhart for over 90 years.
Watch the Video
.svg)

A great brisket cook doesn't start at the smoker — it starts at the store. Here are Barrett Black’s expert tips for exactly what to look for when picking a brisket, and how to trim it before it ever sees smoke.
How to Pick a Brisket at the Store
You'll usually be choosing from a pile of vacuum-sealed packers. Here's how to evaluate them quickly, even through the plastic.
- Choose a brisket that is thick at the thin end, has a solid, uninterrupted fat cap on top, maintains an even overall shape, and carries a Prime or Certified Angus Beef grade.
- Avoid anything paper-thin at the corner, with deep gashes or exposed pockets, large, irregular fat blobs on the bottom, or an oddly folded shape.
None of that makes a brisket unworkable — but if you have the choice, choose even. You'll spend less time at the cutting board and more time at the smoker.
Get to Know the Brisket Before You Cut
Once it's out of the package, don't start trimming immediately. Unfold it, spread it out, and make a mental map. Note the gashes, the fat thickness, the thin spots. Every brisket is different — a few seconds of planning saves a lot of unnecessary cutting.
How to Trim a Brisket
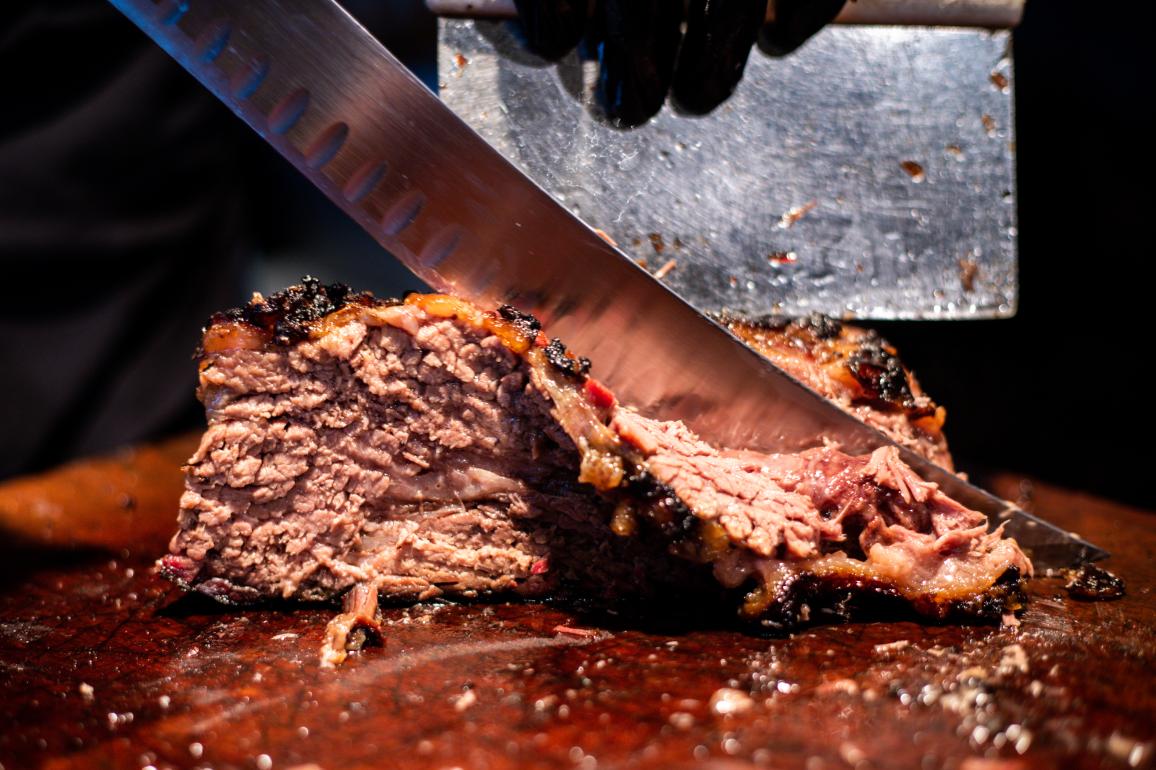
When it comes to brisket trimming, the goal isn’t perfection—it’s consistency. Trimming a brisket helps it cook more evenly and prevents burnt edges, while still leaving enough fat to protect the meat. A well-trimmed brisket should have a smooth, rounded shape with no loose pieces and balanced fat coverage.
Trim the Bottom First
Start with the sternum fat — the thick glob on the underside near the center. Shave it down, but don't carve it out. It protects the lean muscle beneath it during the cook, and most of it will render away anyway.
Next, address any hanging or loose pieces. If you can grab a piece and it pulls away easily, cut it off. If you have to dig to get it, leave it. You don't want pits or holes in the meat. The goal is a clean, rounded surface — not perfect, just consistent.
Address the Point End
The deckle of fat that stands up on the point needs to come off flat. Hold your knife level all the way through. Then round off any sharp corners or edges — they'll char long before the brisket is done. Think river rock, not geometric shape. Use multiple light strokes rather than one big cut.
If you find paper-thin lean spots, they need to come off too — otherwise, they'll burn. Save those pieces and throw them on the smoker as a mini brisket alongside the main one. They'll cook faster and taste just as good.
How Much to Trim the Fat Cap
If you're not sure, leave it alone. The fat cap protects the lean through a long cook, and trimming it too thin is a one-way door. If you do want to trim it, press on it — thick fat feels dense, thin fat gives easily. Look for color variation where the cap is already thin. Never expose red meat on top if you can help it, and stop before you think you're done. The brisket shrinks during the cook.
What Type of Knife to Use
You don't need a specialty brisket knife. The best knife for trimming brisket is a sharp 7-inch chef's knife for trimming a brisket or two at home. The knife matters far less than the patience to go slow and feel what you're doing. Check out Barrett’s favorite tools of the trade.
Nothing Goes to Waste
As you trim, keep two piles: pure white fat and pieces with red meat still on them. The meaty scraps go back on the smoker as a bonus cook or into sausage. At Black's BBQ, all our brisket trimmings go into our sausage — 90% beef, 10% pork. We believe in respecting the whole animal.
This brisket is now ready for seasoning. Cooking a great brisket starts with the pick and the trim. Get the selection and trim right, and everything that follows gets easier. We've been doing it in Lockhart since 1932, and we want you to get it right at home, too.
Watch Barrett’s Step-By-Step Video